
DIY Christmas Wood Sign Ornaments
Looking for an easy gift idea or simple Christmas DIY? If so, stick around because I’m going to show you how we made these but Christmas wood sign ornaments.
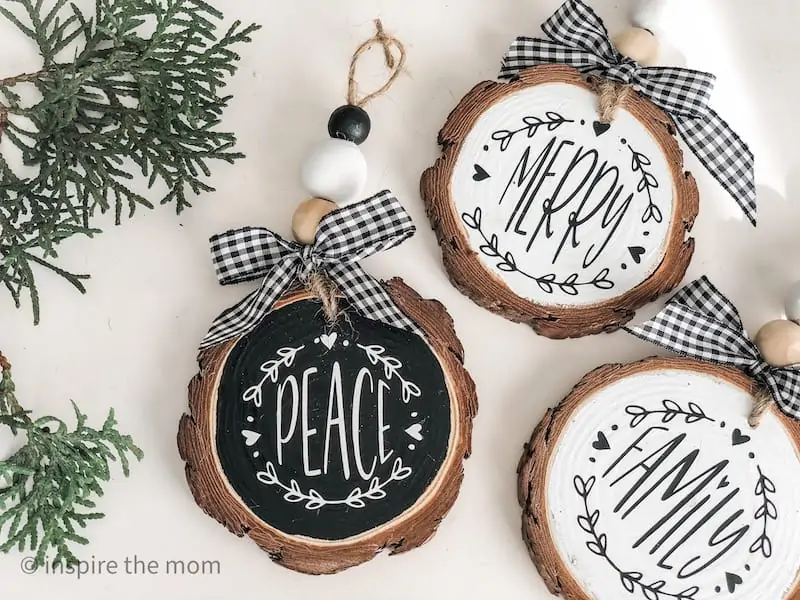
These wooden Christmas signs were so easy to make and I’ve already got them hanging on the Christmas tree, along with plans to give them away as gifts as well.
With that being said, let’s jump right into how to make these Christmas Wood Sign Ornaments!

Christmas Wood Crafts
I love wood ornaments, wood crafting, and Christmas wood decor. My dad is a carpenter and I guess I got a little of that from him. But one of my favorite things is that when I make something from wood, I know it’s going to last a long time. –If I put in the time upfront and make something quality, it will be in our family ornament box for years to come.
With that being said, this craft has a few extra steps and materials, and requires the use of a cutting machine (Cricut or Silhouette). If you do not own a cricut machine, you can purchase pre-cut, ready made decals to fit your board.
Let me show you how we made these cute wooden Christmas sign ornaments. Let’s get started!
Materials Needed for Christmas Wood Signs
If you craft a lot, you more than likely have most of these items in your house. If not, you can easily find them online or at your local craft store.
Materials Needed for the Christmas Wood Sign DIY:
Amazon Affiliate links in this list. I may earn a commission from sales made. Thank you!
- Rectangle Wood Pieces (I found mine at Hobby Lobby)
- Acrylic Paint
- Paint Brush
- Craft Wire (Antique Brass)
- Wire cutters
- Cricut Vinyl (white, black, & transfer tape)
- Drill (for holes if your wood pieces are not pre-drilled)
- Cricut Machine (or other cutting machine)
- Christmas SVG files (From my Charm & Cottage Etsy Store)
- Ribbon
- A sealant like Mod Podge or Polycrylic (Optional)

How to Make Christmas Wood Sign Ornaments
- Using the acrylic paint, paint your unfinished wooden rectangles. (I used white, black, red, and green, but feel free to do any color you choose!) Once they are dry, give them a second coat just to make sure the ornament has full paint coverage.

- While your boards are drying, prep your decals. First, download the digital ornament svgs. Second, in Design Space, size them to fit the boards. Thirdly, cut the decals using the Cricut. Fourth, weed the excess vinyl from each design.
- Once the paint has dried completely, drill small holes on the top of your Christmas wood sign for the wire hanger. Cut your desired length of wire, then twist through and around the holes to form a hanger. (Tip: Cut an extra bit of length. You can always trim some off if you find that it’s too long.)

- Using transfer tape, transfer the prepped vinyl designs onto the painted wood ornaments.
NOTE: I found when working with small detailed svgs that you need go slow so you don’t loose any of the tiny letters or dots. However, if you loose one, you can use a sharpie or paint pen to replace it. Another thing you can do is leave the tiny letters off, if the design still works without it. (I did that with the Sleigh Ride design and just left off the word ‘together’ –still looks great.)

- Put a layer of Mod Podge or Polycrylic over the top of your Christmas wood signs to make sure your vinyl stays in place. (If you used a permanent vinyl and you feel like your design is not going anywhere, feel free to skip this step!)

- Once your sealant has dried, tie a ribbon around one corner of your ornament for a pop of color. I used Christmas plaid, buffalo check, green velvet, and red velvet ribbons on my christmas wood sign ornaments–but you can use whatever you like or whatever you have! (Amazon links included in this step.)

- Enjoy!


Ways you can use these DIY wooden Christmas signs
What are you going to do with your new, cute, DIY wooden Christmas signs? There are so many options, but here are a few ideas I thought of for mine:
- Hang on your tree
- Give as a gift
- Hang from a doorknob
- Use as a Christmas door hanger
- Attach on the top of a gift
- Give as a party favor
- Attach to a Christmas wreath
- Hang with stockings from the mantle
- Christmas wood decor
How kids can help with the wood sign ornaments
If you’re like me, you’ve got kids who want to watch, help, and be a part of what you are doing. Depending on the ages of your kids, here are some parts of this wood craft that your kids could help out with.
- Paint the boards (since acrylic paint can stain and is toxic if consumed–leave this for the big kids)
- Weed the Christmas decals
- Older kids can help measure the trim the wire.
- Help place the decals on the sign
- Cutting and tying the ribbon
Note: Another thing you can do is give your kids an unfinished wood board and let them paint or decorate it as they choose. (I ended up doing this with mine and the result was a fun afternoon of happy, messy, crafting for everyone.)

More Homemade Christmas Fun
- How to make Christmas Wood Slice Ornaments
- Fingerprint ornaments for Kids
- DIY Bird Feeder Ornaments
- Scented Orange Garland DIY
- Experience-Based Gift Ideas for Kids
What are your favorite wooden Christmas signs?
*This post contains Amazon Affiliate links.


